Føj min Microsoft 365-e-mailadresse til Apple Mail på Mac
Trin 3 i serien Konfigurer min Microsoft 365-konto.
Føj din Microsoft 365-e-mailadresse til Apple Mail-appen. Derefter kan du sende og modtage arbejdsmail på din Mac.
- Åbn Apple Mail.

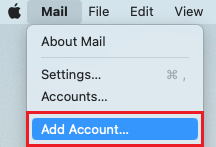
- Hvis du er ny bruger, skal du gå direkte til trin 3. Ellers skal du vælge Mail og derefter Tilføj konto.
- Vælg først Exchange og derefter Fortsæt.

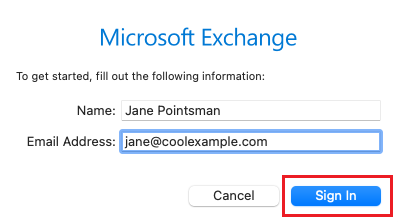
- Indtast dit navn og din e-mailadresse, og vælg derefter Log på.
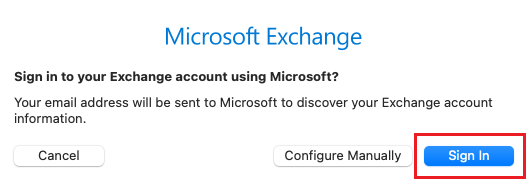
- Vælg Log på.
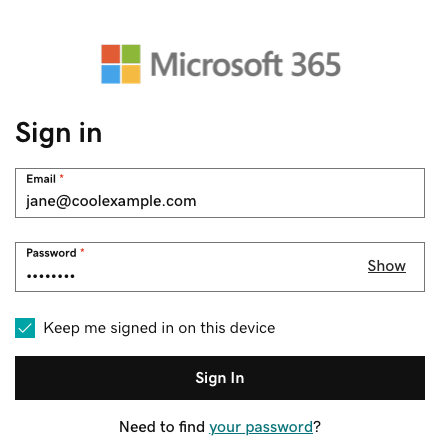
- Enter your email password, and then select Sign In.
- If you see a prompt that says your email is used with more than one account with Microsoft, select Work or school account (not Personal account).
- Enter your email password, and then select Sign In.
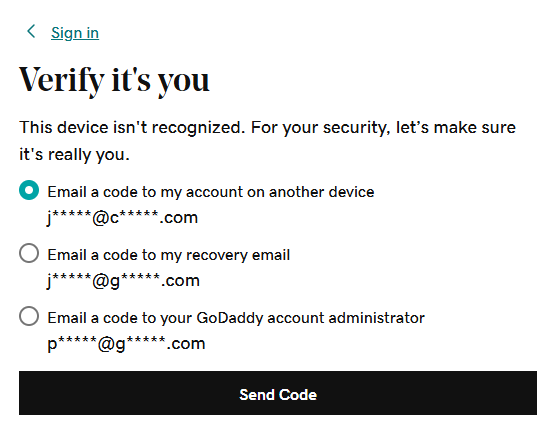
- If you're signing in from a new device or location, you'll see a prompt to Verify it's you and confirm your identity through a one-time code.
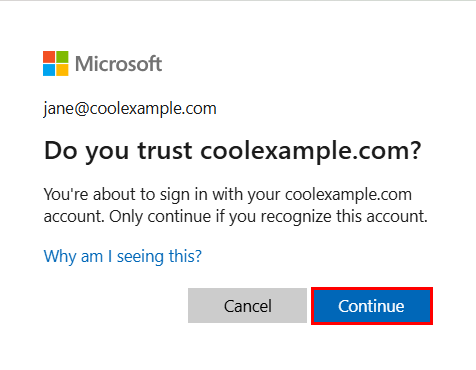
- If you're asked to trust your domain, select Continue.
- If it's your first time signing in and multi-factor authentication (MFA) is enabled, you'll see a prompt to set up your authentication method. (If you have trouble following the on-screen instructions, trying setting up MFA using these steps instead.) If you already have MFA set up, verify your identity using your authentication method.
- Du anmodes muligvis om at give tilladelse til at tilgå din konto. Vælg Acceptér.
- Hvis din administrator aktiverede multifaktorgodkendelse, skal du bekræfte din konto eller konfigurere Godkenderappen.
- Du anmodes muligvis om at give tilladelse til at tilgå din konto. Vælg Acceptér.
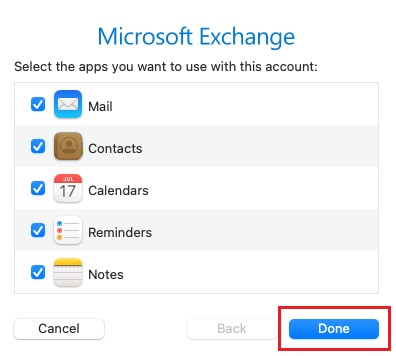
- Vælg Færdig. Du kan til enhver tid vende tilbage og redigere disse indstillinger.
Din Microsoft 365-e-mail er nu opsat på din Apple Mail.