Thêm email Microsoft 365 vào Apple Mail trên máy Mac
Bước 3 trong loạt bài Cài đặt tài khoản Microsoft 365.
Thêm email Microsoft 365 của bạn vào ứng dụng Apple Mail. Sau đó, bạn có thể gửi và nhận email doanh nghiệp từ máy Mac của mình.
- Mở Apple Mail.

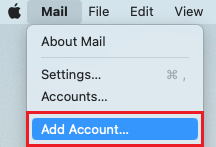
- Nếu bạn là người dùng mới, hãy chuyển đến bước 3. Nếu không, hãy chọn Mail, rồi đến Thêm tài khoản.
- Chọn Exchange rồi chọn Tiếp tục.

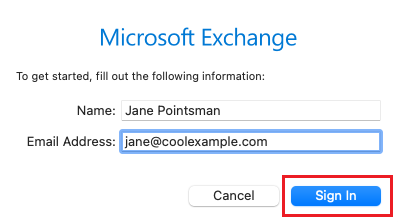
- Nhập tên và địa chỉ email của bạn rồi chọn Đăng nhập.
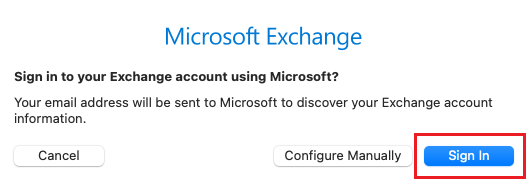
- Chọn Đăng nhập.
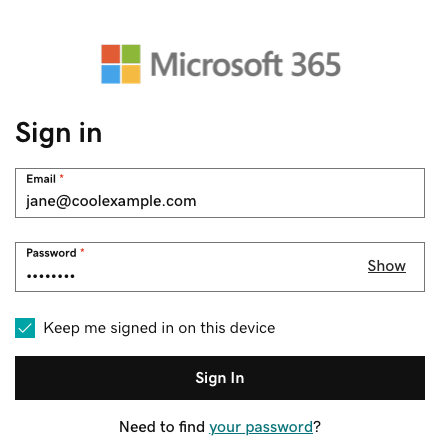
- Enter your email password, and then select Sign In.
- If you see a prompt that says your email is used with more than one account with Microsoft, select Work or school account (not Personal account).
- Enter your email password, and then select Sign In.
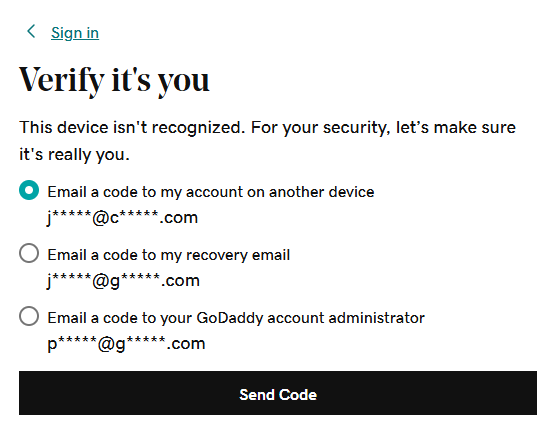
- If you're signing in from a new device or location, you'll see a prompt to Verify it's you and confirm your identity through a one-time code.
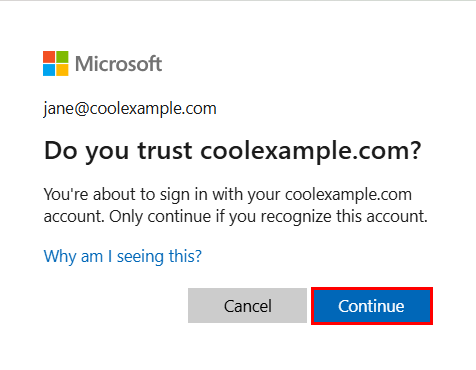
- If you're asked to trust your domain, select Continue.
- If it's your first time signing in and multi-factor authentication (MFA) is enabled, you'll see a prompt to set up your authentication method. (If you have trouble following the on-screen instructions, trying setting up MFA using these steps instead.) If you already have MFA set up, verify your identity using your authentication method.
- Bạn có thể nhận được yêu cầu cấp quyền truy cập vào tài khoản của mình, hãy chọn Chấp nhận.
- Nếu quản trị viên của bạn bật xác thực nhiều yếu tố (MFA), bạn hãy xác thực tài khoản của bạn hay cài đặt ứng dụng Trình xác thực.
- Bạn có thể nhận được yêu cầu cấp quyền truy cập vào tài khoản của mình, hãy chọn Chấp nhận.
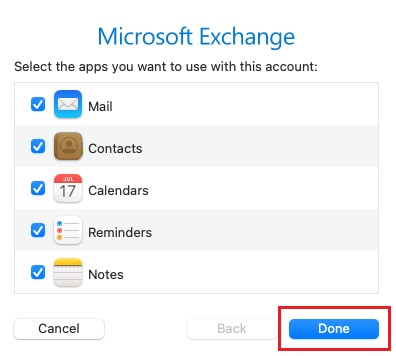
- Chọn Hoàn tất. Bạn có thể quay lại và chỉnh sửa các cài đặt này bất cứ lúc nào.
Lúc này, email Microsoft 365 của bạn đã được thiết lập trên ứng dụng Mail của Apple.